For this pad hack, I found few guides that helped me and especially the HarumaN's, in ArcadeControls forum.
Since I was in a hurry to have it done, I didn't wanted to bother asking for permission so I came up with my very own pics. Let's rock!
1) Tools I used :

- A solder - Mine is 25W.
- Tin
- Short wires
- Cable splicing knife
- Cutting plier
- Sandpaper - too lazy to take it back out for the picture...
- Little screwdrivers
- Helping hands
- A hot glue pistol
- Connecting strip - I used 2 and a half
- An Opinel((french brand knife) - Used is to scratch varnish on the PCB. Alternative way would be using a variable speed dremel. Point is if you don't already have one, better stick to the ol' good Opinel!
- 8 Sanwa buttons OBSN-30
- 1 standard button 8mm 1 player
- 1 standard button 28mm (the coin button for emulators :D )
- 1 Seimitsu joystick LS32
2) Pad dismantle

There are totally 7 screws including one hidden behind a barcode sticker as you can see in the above pic.
When opening the remote, the buttons will try to get away. Just let them be as there are still few things to worry about.
3) PCB "cleaning"
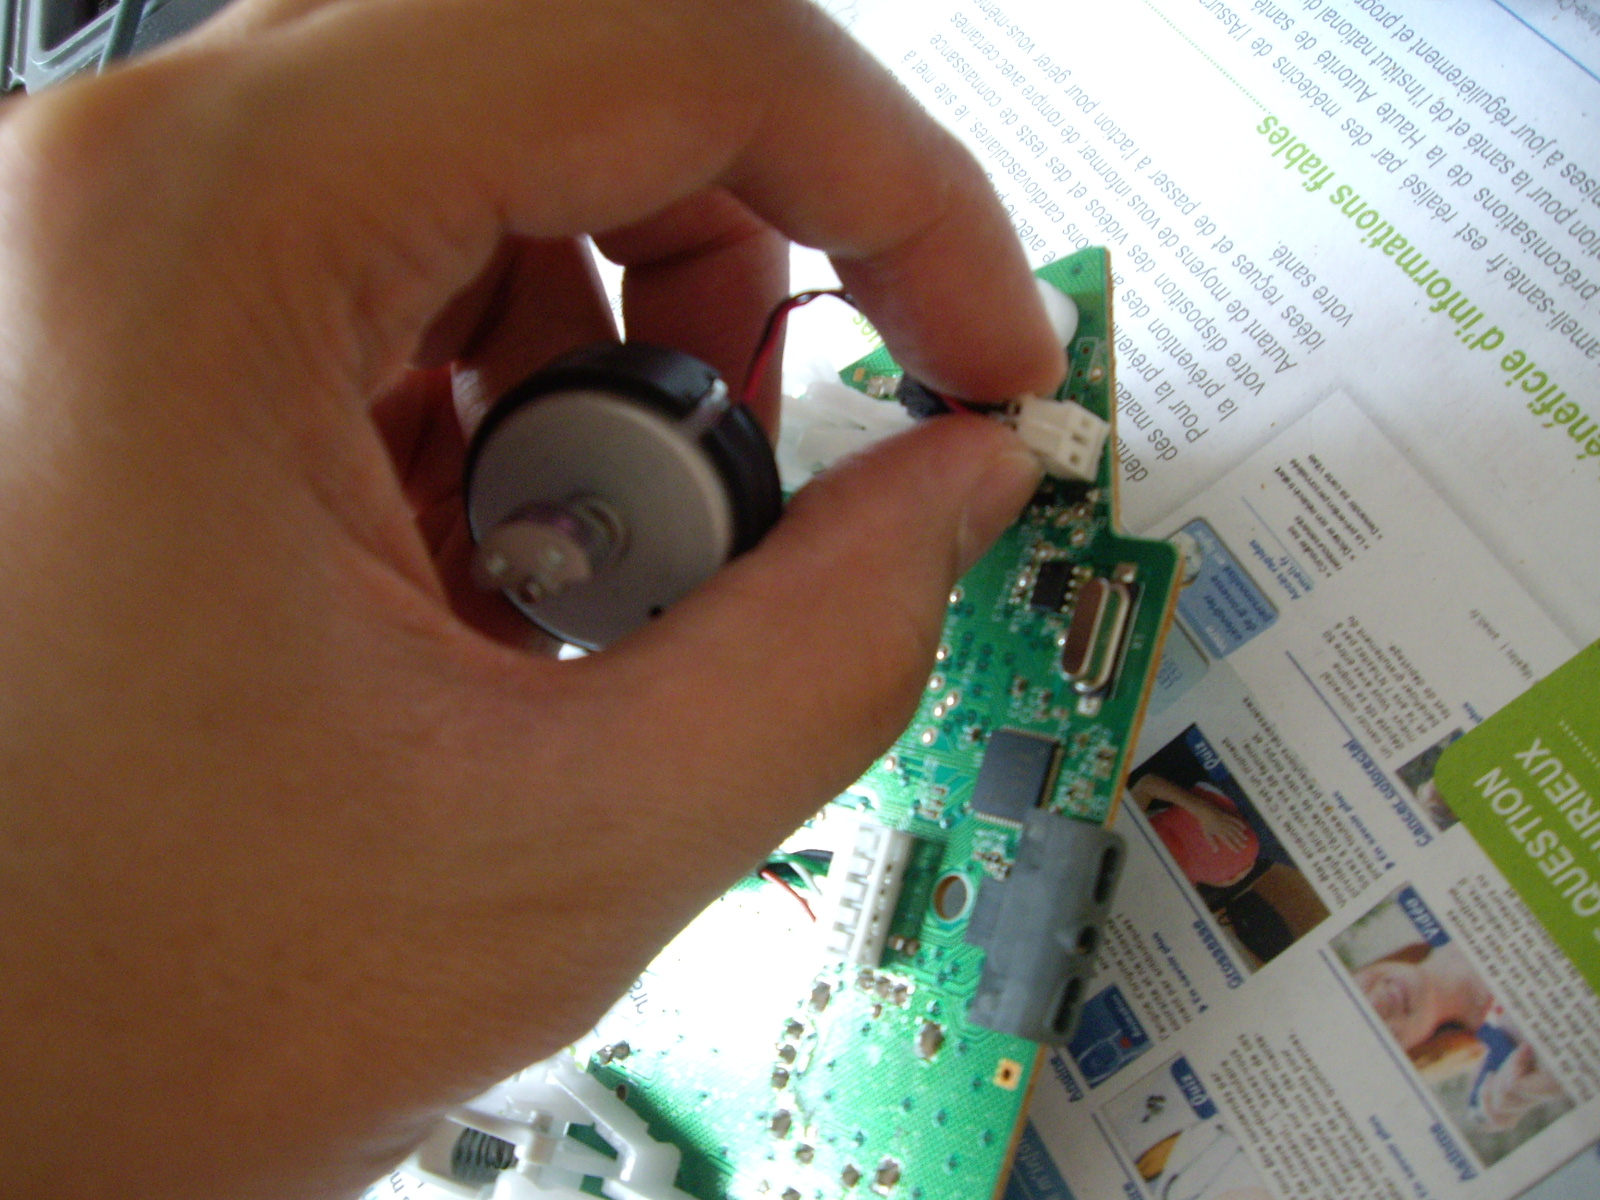
First of all, take the PCB out then unplug the connectors for the vibrating devices(no, not those kind of devices, you pervs :p).

Unclip the triggers. Note that it's not necessary to remove them completely.
(Next time I will try to cut my nails so that my hands appear more sexy on the pics :D)
There's also another "thingy" to remove :
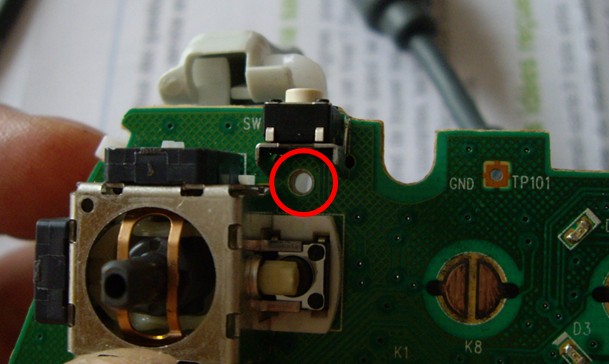
Here's the buttons mapping :

You can still see varnished buttons on the picture (Start, A and directions keys).
I scratched the others with my magic Opinel. You have to manage to stop scratching when you reach the copper contacts but make sure tin can stick on them.
Note that every single button/direction has a separated common. Few illustrated examples :

4) PCB preparation

Once all varnish is removed, just scratch the PCB a little with sandpaper. Don't go too hard on it, you don't wanna remove more than you should.

Apply few tin points on the contacts to make solding easier later on.
Do the same with the wires then solder the whole thing by pairs :

I strenghtened my soldings with my hot glue pistol.
6.1) Looking for hidden RB and LB :

In order to find them, flip the PCB then move the triggers apart like in the above picture.
6.2) Looking for hidden LT and RT :

5) Connectings
Time to plug the wires to the connecting strips.

I put scotch tapes on the wires to have things neatly sorted.
6) Connection tests
Testing time! We need to test connections to make sure solderings were properly done.
Just have to connect the remote to your computer. I did my tests on my PC with Windows 7 :

Then :

And finally :
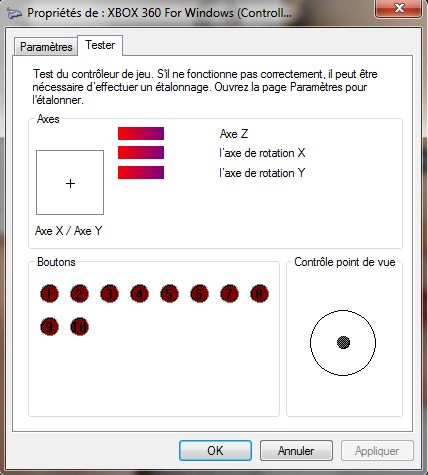
Test the wires two by two by making contact. Hmmmm dunno how to explain that. Should had done a picture for this one :D
Anyway, the point is that you have to make sure the buttons light up in the computer screen.
7) Ohhhhh crap!
During my tests, I realised my hot glue messed up my solderings :

At that time of the pad hack, I thought I screwed up : tin wouldn't stick on the PCB since there was no more copper. I came up with a genius last chance trick :

I plugged my screwed up button's common with another one's. I read in forums that common are not...in common but I know after my tests that it does work. And even pretty well!
That's Teapot's (emergency) touch for you :)
By the way, don't mind about the wires' colors that don't match with common or whatever.
8) Connecting buttons and stick
We need to prepare the buttons :

2 wires + 2 soldering points = 1 fresh and ready to be connected button.
In the above pic, my buttons and stick are mounted in a home made box I did myself for my PSX pad hack.

I used empty rubber tubes to tidy up the wires
/!\ A little advice /!\
When connecting the stick, think about how microswitches are placed : they're in opposite directions. Meaning that Right is placed Left :
That's logical if you look closer to how a microswitch looks like :

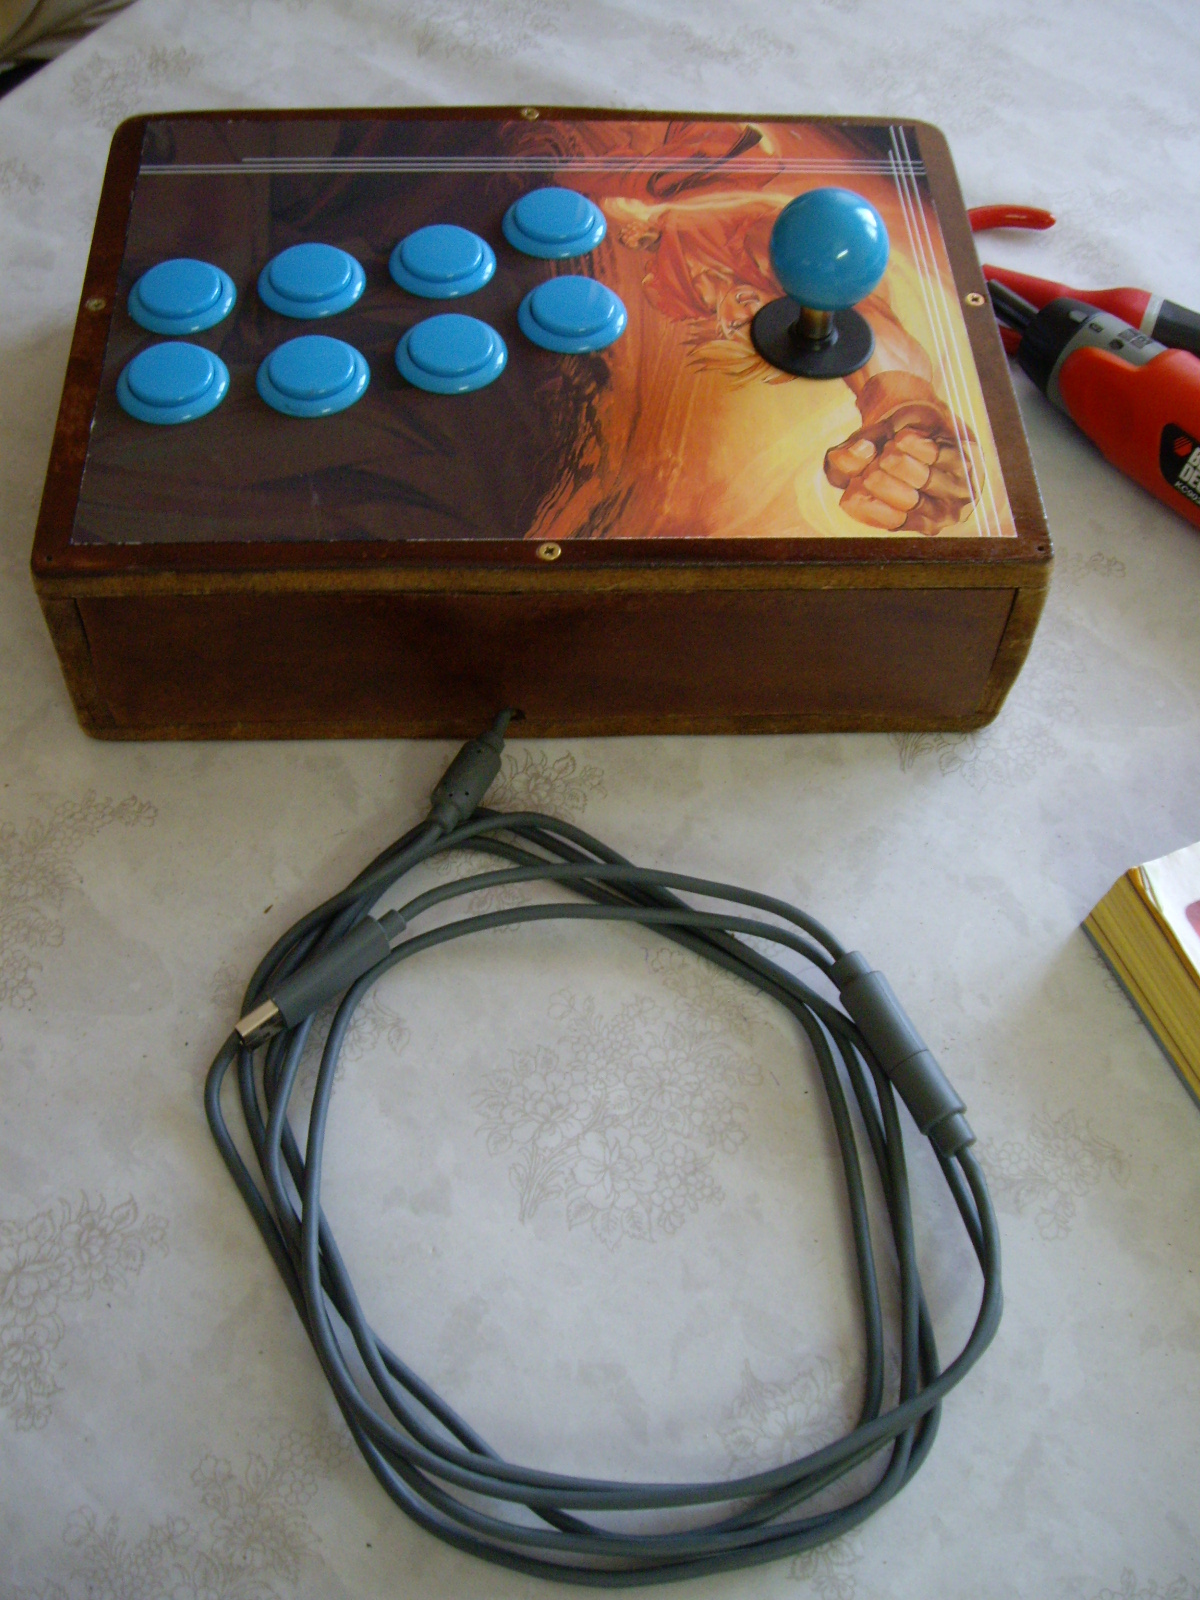
9) The end
Et voilà! Here are few pics of the final product! Okay, varnishing the box was quite a bad idea.
I will also need to find a proper sticker coz One Eyed Ken looks kinda mad at me for what I did to him :p
Anyway, I did a huge work with this first home made arcade stick and I think I can be proud of myself even though there are few minor problems to fix :)


Few links that could be useful :
- Electronic stuffs (sorry, only have French adresses) :
Selectronic
Lextronic
- Arcade Button/stick :
Starcab
Akihabara
Ultimarc
Feel free to leave comments about how wonderful I am and see you around!
Aucun commentaire:
Enregistrer un commentaire